
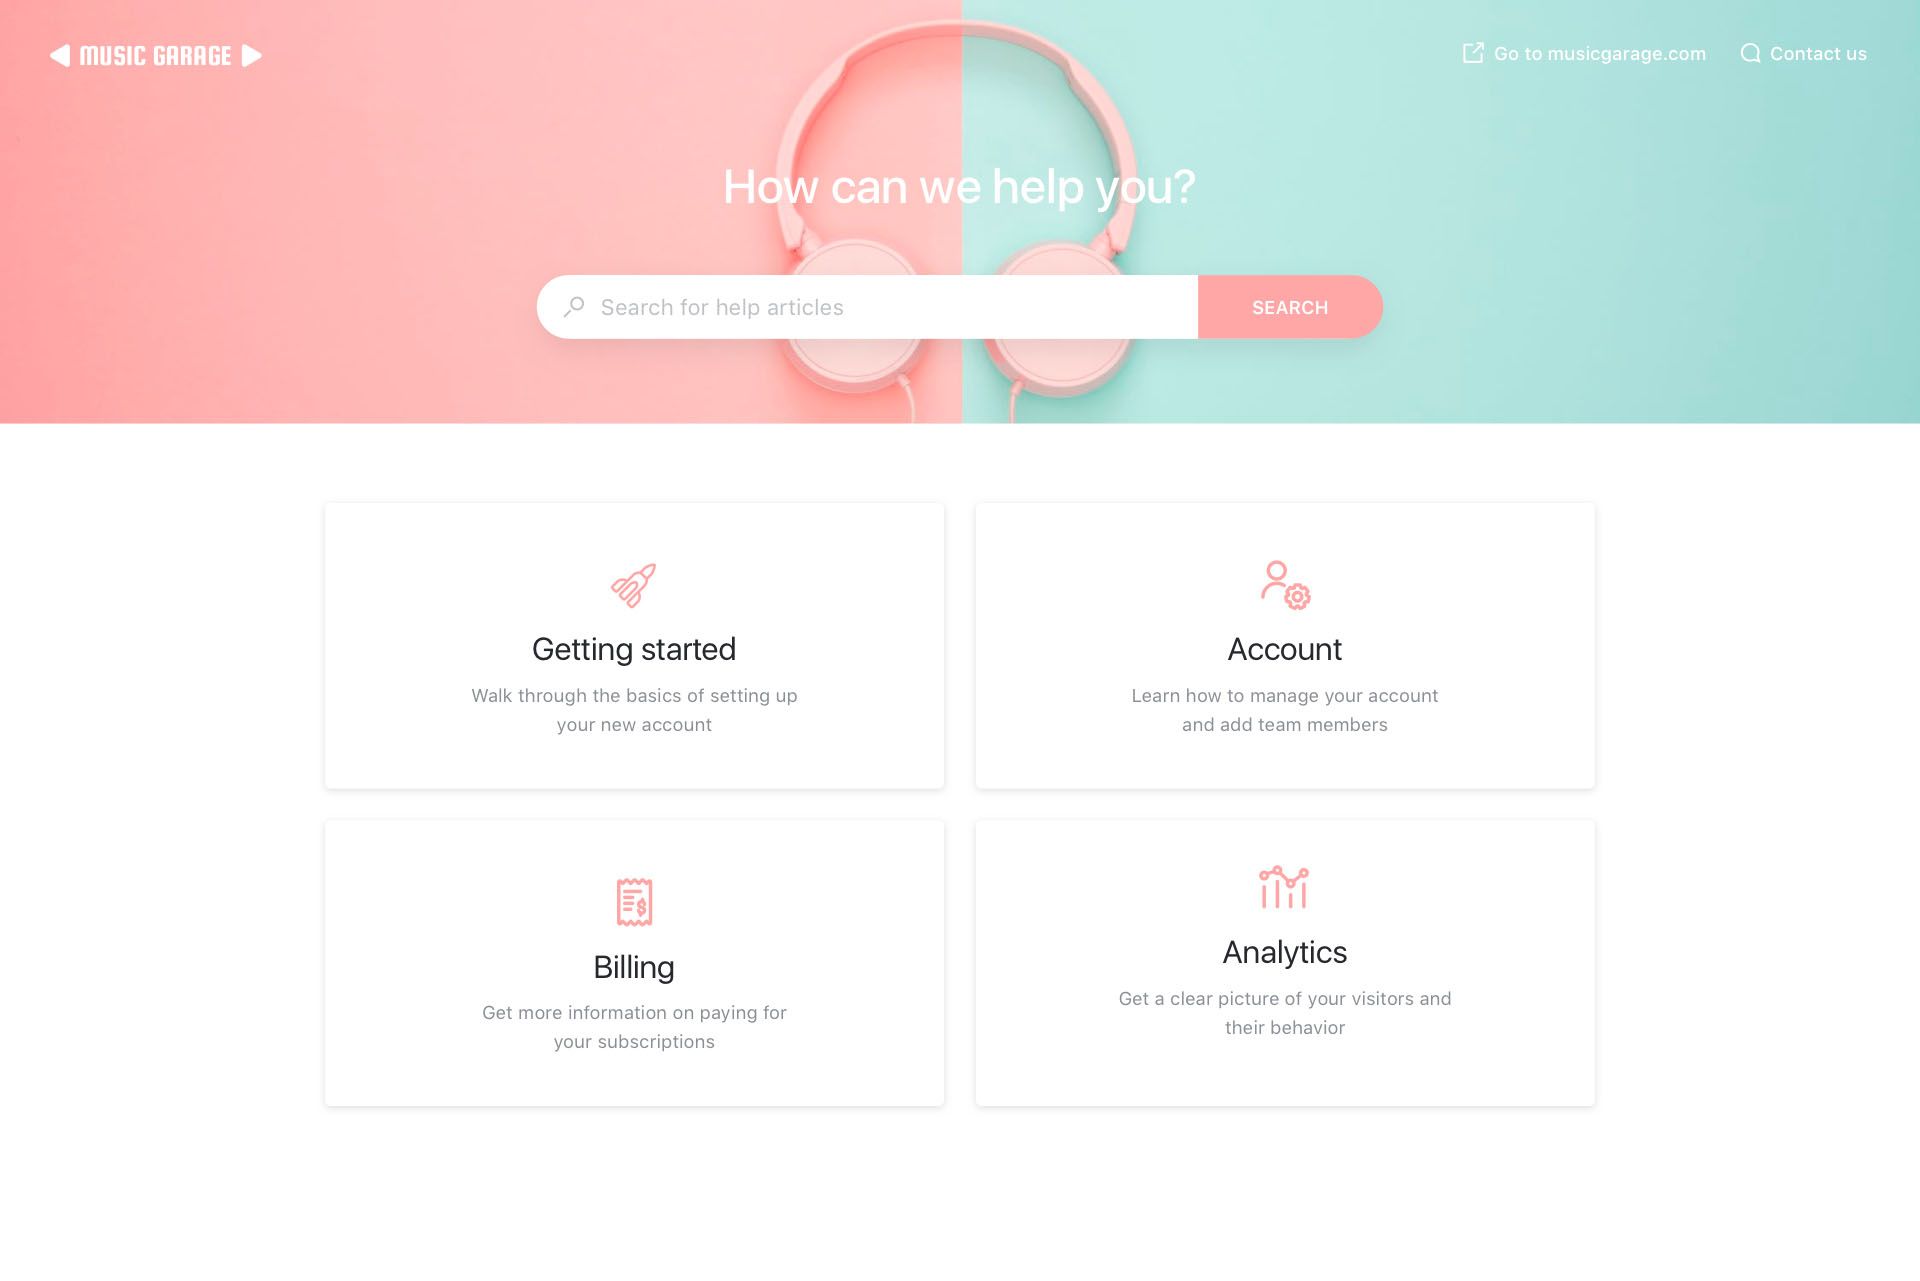
Most customers today would rather use self-serve help content than contact support. Unfortunately, traditional knowledge bases are full of one size fits all content hidden far away from where users actually need it. With Stonly, your knowledge base will be both powerful and present. Customers will find the solutions that work best for them, presented in a digestible format and accessible wherever they need help.
If you’re looking to offer your customers powerful self-serve support with an external knowledge base, or just want to share information with your employees in an internal knowledge base, Stonly’s here to help. This article with get you up and running--whether this is your first knowledge base ever or a level-up of the one you've already got.
Start here: invite your team
First things first, you’ll want to determine who on your team will be writing in your knowledge base. Create an account and invite any and all team members who will be working on your help content. You’ll want to get them up to speed on Stonly. Give them some time to poke around the platform and share our getting started guides.
The next steps are a bit different depending on if this is your first knowledge base or you already have a knowledge base you’ll be migrating to Stonly. Skip to the section that makes sense for you.
If this is your first knowledge base
Congrats! If you’re building a knowledge base from scratch it means people are using your product or service!
Identify the content your users need most
Before getting started, you’ll need to determine the content you absolutely need to create before publishing your knowledge base. For this list, think about important pieces of knowledge you regularly share with users. Look at your email responses to common questions, FAQs that you’ve documented and any product how-to content you’ve created.
Put your list into a knowledge base content calendar. We use a spreadsheet that looks like this. If you want to use that one, just make a copy of it. As you launch new products, address new markets and answer new customer questions, you’ll need to keep it updated. This document will help you through launch, but will also serve as your knowledge content plan moving forward.
Create your key content
Once you’ve come up with your list of must have guides, start building Stonlies! Some guides will be simple, one or two step answers. Others will be more involved, with longer paths and branches to accommodate different use cases. Take your time! These first few guides will answer some of your users’ most common and important questions. Check out this Stonly to see how to go from a flat article to a step-by-step Stonly.
Launch your new knowledge base
With your pre-launch content in a good place, you’re ready to publish your knowledge base!
To make your knowledge base more navigable, categorize your content. Some categories that we see in many starter Knowledge Bases are FAQs, Getting Started and Account Settings. You can always change or add categories later, plus you can add subcategories to make finding the right guide incredibly easy.
Once you have your knowledge base live and available for your users, start working on guides covering your product or service’s key features. Aside from helping your customers self-serve their way to success, a comprehensive knowledge base will be a great asset for your growing support team to find solutions in the future.
If you already have a knowledge base
Congrats on deciding to level up your help content! Your new knowledge base will be ready to go live when you’ve migrated over all of your current help articles. We recommend doing this in three simple steps.
Step 1: Migrating your content
To get up and running, you’ll need to convert your content into Stonlies. Open up three windows--your current knowledge base, Stonly and a spreadsheet. You can make a copy of this google sheet migration template to keep things organized.
For each piece of content:
- Copy the Title, Old URL, Category and Subcategory into a row of the spreadsheet
- Create a new Stonly, and name it appropriately
- Copy and paste all of your written content into the first step of the Stonly
- For pieces of content that have zero or one image, keep a single step
- For pieces of content with >1 image, create a separate step for each part of your guide that requires an image
- Preview your guide, test it, and hit Publish
- Mark Published on your spreadsheet
Don’t worry! Even these one or two step Stonlies will offer a better, more user-friendly experience than your old knowledge base. Plus, as you’ll see soon, this is just the first step towards a much more powerful knowledge base!
Step 2: Build your High Priority Guides
Now that everything is moved over, identify your 4-5 most heavily trafficked, highly ticketed topics. Look for opportunities where building out multiple paths for different users, or taking a deliberate step-by-step approach, will ensure more users get to the optimal answer. Mark these in your migration tracker as “High Priority Guides.”
Once you’ve identified your High Priority Guides, start turning these into fully built out step-by-step Stonlies. Focusing on these guides first will increase customer success and decrease tickets dramatically. Spend some time on these ones, it'll be worthwhile.
As soon as this step is complete, you’re ready to go live!
After you push your Stonly Knowledge base live, you'll want to redirect all of your old articles to your new, way more powerful guides. We're here to help you with that! You can either (1) schedule a quick call with us or (2) send your tracking spreadsheet to support@stonly.com and we'll make sure everything is linked correctly.
Step 3: Build out the rest
With your knowledge base live, you can start working through the rest of your content. Take your time here, since your highest priority pieces are already optimized. Any guide that requires more than one step solution should be updated to have the appropriate steps. Guides that could benefit from visuals or videos should be enhanced, too.
Keep track of your progress in your spreadsheet, and work through guides in an order that makes sense for your team. Some teams like to go from most trafficked to least, while others take a category by category approach starting with categories that are strategically important. Remember, every guide you update will make life a little easier for your customers (and your support team!).
Need a hand? Our onboarding team would love to show you some tips and tricks to get everything imported quickly and effectively. Alternatively, we offer a concierge service that can get you all set up. Schedule a time to chat here.
Put your knowledge base right where users need it
Now that your knowledge base is live, your customers will always be able to find what they need in your help center. But you chose Stonly because it’s powerful and present. With the Stonly Widget your knowledge base will be present wherever and whenever users need it most. Not only will your content be easy to access and navigate, but the Stonly step-by-step format works especially well in our Widget--creating a great experience for your users whenever they need help.
To make the Stonly Widget even more powerful, you can automatically recommend highly relevant articles with smart, page-based targeting. Just specify the articles that make sense for a given page and when a user opens the widget they’ll see those first.
Check out this guide to see how to add the Stonly Widget to your site and configure it to be most effective.
Stonly's knowledge base software allows you to create the world’s most powerful help content and make it easily accessible anywhere on your site. If you need help getting started, schedule a call with someone on our team today. We’d be happy to help!